Well, hello there folks! If you’re like me and routinely find yourself in a pinch when it comes to curating a quick, tasty, and, of course, a nutritional-packed lunch for your little munchkins, then boy, do I have a treat for you. It’s an old classic, every child’s dearly loved dish: the timeless Peanut Butter and Jelly Sandwich.
I can hear you now, But that’s child’s play! Well, let me tell you – it isn’t just about clapping a spoonful of peanut butter on one side of bread and slathering jelly on the other. There’s a trick, my friends, to turning this steadfast classic into a marvelous masterpiece.
First off, let’s talk bread. You might be inclined to reach for that ultra-soft, white as snow loaf, but I urge you to consider going the whole grain route. Why, you ask? It boils down to two words: texture and nutrition. Whole grain bread has a pleasant crunch and rich flavor that serves as the perfect canvas to our peanut butter and jelly masterwork. And the bonus? It packs a significant amount of fiber and essential vitamins. Score one!
Next up, the all-important peanut butter choice. Creamy or crunchy? Well, it’s like choosing between two of your favorite teams. My approach is as simple as pie: let the kids decide! Children love when they have a say in things, and this could be a sneaky way to get them to enjoy their lunch even more.
The jelly, oh, the jelly! If you’re stuck in a grape rut, spread your wings a little! Don’t be afraid to experiment with other flavors. Raspberry, strawberry, or even marmalade can offer a delicious spin to your sandwich. The world is your oyster!
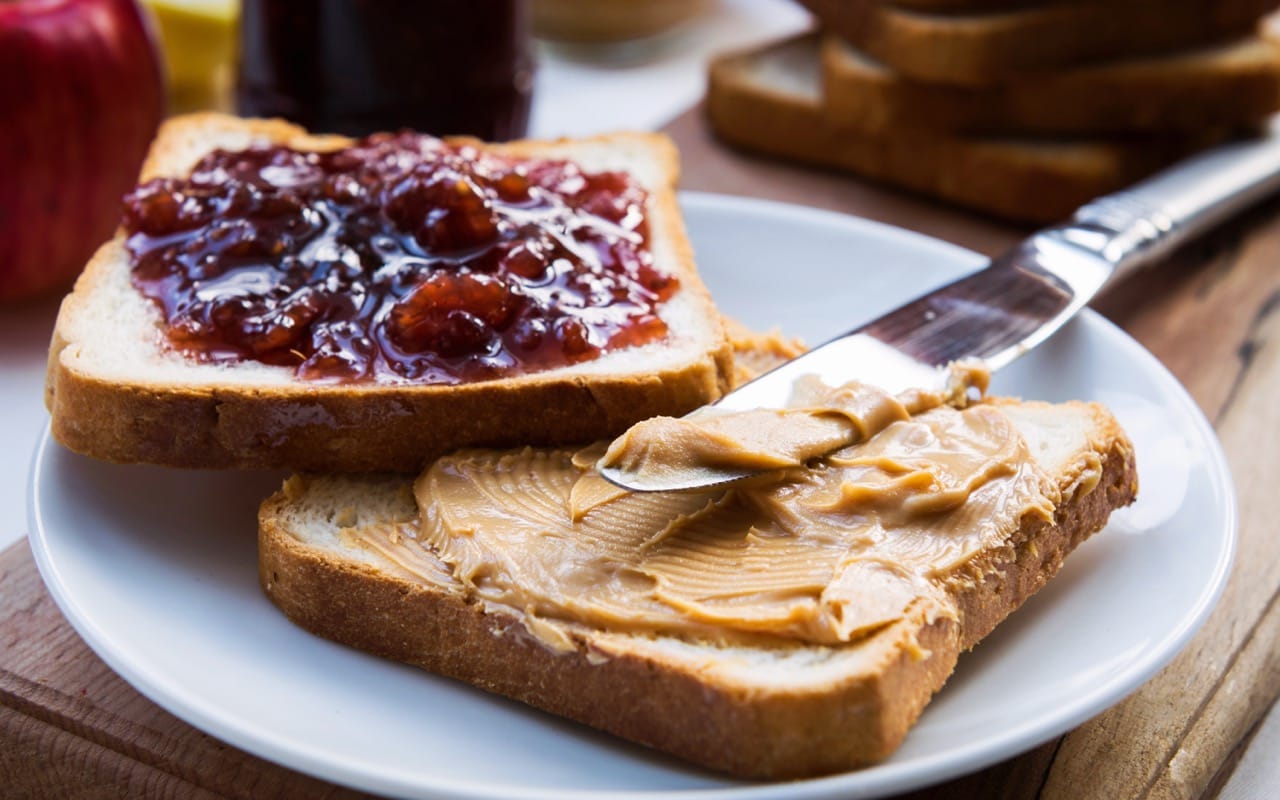
Now, about putting it all together. Lightly toast the bread and spread a generous layer of peanut butter on both slices – Yup, you heard me right. Both slices. This sneaky little trick prevents your bread from getting soggy. The perfect sandwich isn’t made in the blink of an eye, so hold on – we’re not through yet. The jelly goes right there in the middle, like the filling in a sweet sandwich cookie!
Voila! You’ve just stepped up your Peanut Butter and Jelly game, folks. Just remember, life’s too short for plain sandwiches – so jazz it up a bit and make lunchtime fun!
Trust me, your little tykes will transform from picky eaters to food critics, praising your extraordinary ability to make a not-so-average peanut butter and jelly sandwich. Now let’s get spreading, shall we? Time to paint that lunchbox masterpiece!

Let’s Get Cooking!
Ingredients:
- 2 slices of whole grain bread
- 2 tablespoons creamy or crunchy peanut butter (based on preference)
- 2 tablespoons your child’s favorite jelly or jam
Steps for the Recipe:
- Start by toasting the slices of bread lightly, just until the edges get a little crispy.
- Once they’re toasted to perfection, use a butter knife to spread a generous portion of peanut butter on both slices of bread.
- Then, carefully dollop your child’s favorite jelly or jam on top of the peanut butter on one slice of the toast.
- Smooth out the jelly so it evenly covers the peanut butter.
- Now, for the cherry on top! Seal the deal by pressing the second slice of the bread, peanut butter side down, onto the jelly.
- Cut the sandwich into halves or quarters depending on your little one’s preference.
And voila! There you have it – a perfect Peanut Butter and Jelly Sandwich.
(Note: This recipe does not involve the use of meat. However, if you are ever preparing a dish that contains meat such as chicken, pork, beef, fish, turkey, ham, pork loin, ribs, duck, eggs, Shellfish, game meats, game birds, wild turkey, duck, goose, partridge and pheasant veal, lamb, etc., remember to always use a food thermometer to ensure the meat is cooked to its safe cooking temperature. Food safety first!)
We think your kids will love it!